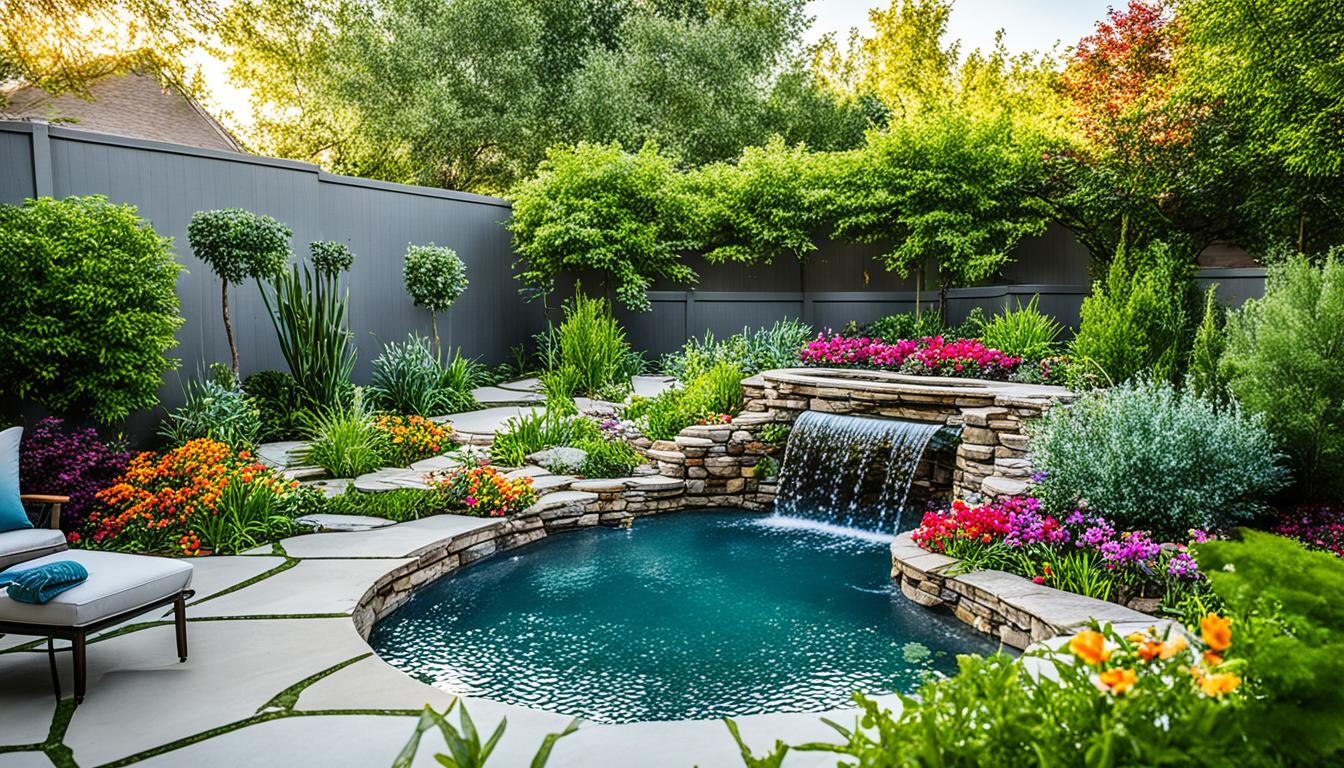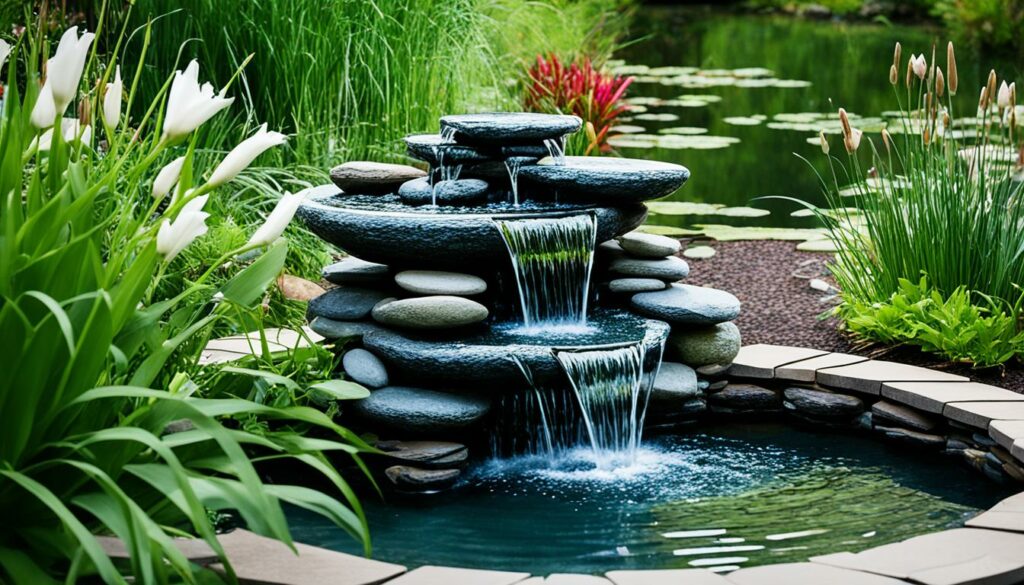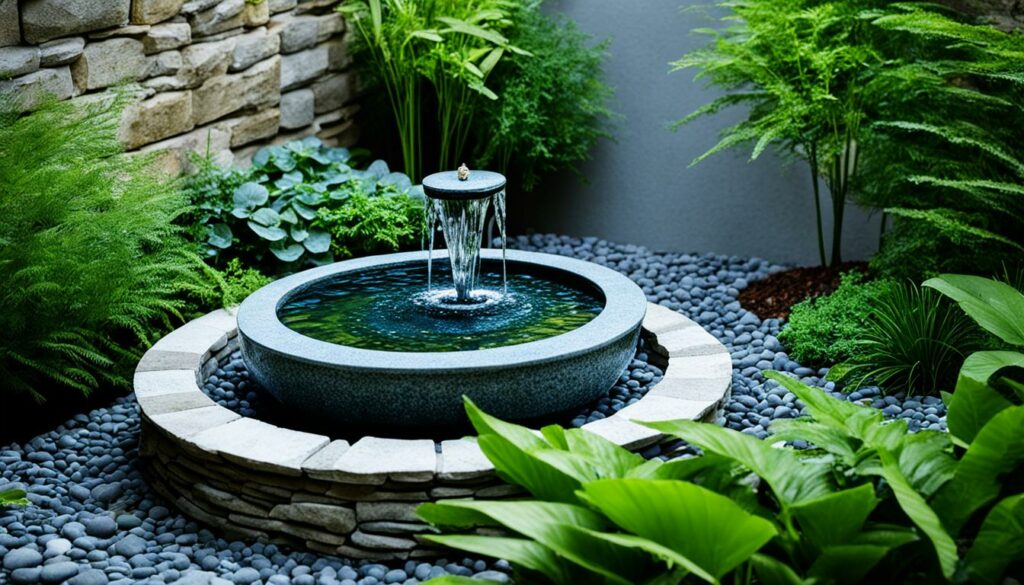
Creating a water feature in your garden isn’t just about adding beauty; it’s about infusing tranquility and a sense of nature into your outdoor space. For both seasoned and novice DIY enthusiasts, tackling a DIY water feature design project can be a rewarding endeavor. In this guide, we provide insights and tips to help you bring your vision of a serene and visually appealing backyard oasis to life. Whether you aim to enhance a landscape layout or build a standalone piece, our suggestions cater to all levels of expertise, ensuring that the aesthetic and functional aspects of your space are perfectly balanced.
Key Takeaways
- Understand the basics of DIY water feature design to get started confidently.
- Consider the aesthetic value and functional aspects of incorporating water features into your garden layout.
- Learn about the necessary tools and materials to effectively execute your homemade water features.
- Get inspired with various design ideas for both large spaces and compact areas.
- Gain insight into the maintenance needs to keep your DIY garden design looking its best year-round.
Choosing the Right Location for Your Water Feature
When planning your DIY water features, selecting the ideal location is crucial for both aesthetic appeal and functionality. Strategic placement can enhance the overall garden landscaping, ensuring your water feature shines as a focal point of your outdoor space.
Consider Sunlight and Shade
Balancing sunlight and shade is essential for the longevity of your DIY water feature. Too much sun can promote algae growth, while too little can stymie plant life that benefits from scattered sunlight. The optimal placement often involves areas with both natural light and some shaded protection to maintain a cool, inviting ambiance.
Accessibility and Visibility
Accessibility is another crucial factor. Ensure the location allows for easy maintenance without disrupting your garden. Position your water feature where it’s highly visible from different angles to maximize enjoyment. This strategic garden landscaping method enhances the overall viewing experience, making your water feature a delightful centerpiece.
Materials and Tools Needed for DIY Water Features
Creating a mesmerizing DIY water feature starts with gathering the right materials and tools. Having the correct building materials and equipment ensures a smooth water feature construction process and a professional result. Let’s break down the essentials you’ll need for your DIY landscape project.
Essential Tools
To successfully construct a water feature, having a set of specific tools is imperative. Here’s what you should have on hand:
- Shovels and Spades – Vital for digging and shaping the reservoir area.
- Wheelbarrow – Useful for transporting soil and other materials.
- Level – Ensures your water feature is perfectly balanced and even.
- Pliers and Wrenches – Essential for fastening and securing various components.
- Utility Knife – Perfect for cutting liners and other similar materials.
Common Materials
Equally important to the tools are the building materials. Assembling these beforehand can streamline your water feature construction. Some common materials you’ll need include:
- Liners – Waterproof liners make up the base and are crucial to prevent water seepage.
- Pumps – A pump is the core driving force of your water feature.
- Rocks and Gravel – These lend a natural appearance and help with water filtration.
- Old Carpeting – This acts as a protective layer underneath the liner to prevent punctures.
- Pails – Useful for mixing and handling concrete or mortar.
Whether you’re envisioning a cascading waterfall or a tranquil pond, starting with the right materials and tools sets you up for a successful DIY landscape project. Proper preparation can certainly make your water feature construction more efficient and enjoyable.
Step-by-Step Guide to Building a DIY Water Feature
Building a water feature in your backyard can be a rewarding project that enhances your outdoor space. To ensure the success of your DIY backyard design, follow these clear, actionable instructions for a seamless water feature installation.
Digging and Preparing the Reservoir
Start by marking the area where you want your water feature to be. Excavate the site to the required depth, ensuring the hole is level and has a solid foundation. This step is crucial in the step-by-step construction process as it forms the base for your reservoir.
Installing the Liners and Pads
After you have prepared the reservoir, it’s time to place the liners and pads. Ensure the pad covers the entire surface to protect the liner from any sharp objects. Next, install the liner, smoothing out any wrinkles and securing it firmly around the edges. This step is vital for a successful water feature installation.
Assembling the Fountain Components
Finally, assemble all the fountain components according to your DIY backyard design plan. Position the pump and connect it to the water supply. Arrange the decorative elements and test the pump to ensure everything functions correctly. This final step-by-step construction phase brings your water feature to life, adding serenity and beauty to your yard.
Inspiring DIY Water Feature Ideas
If you’re looking to add a touch of serenity to your garden or patio, homemade water features can be an excellent choice. Let’s explore some inspiring ideas that can spark your creativity and help you design unique and functional water features using everyday items.
Container Water Features
One of the simplest ways to create a beautiful water feature is by using containers. These creative DIY fountains can be constructed from various types of containers, such as ceramic pots, metal basins, or wooden barrels. By incorporating a small pump, you can transform these items into mesmerizing water features. Note how popular gardening bloggers such as P. Allen Smith demonstrate easy steps to repurpose containers into stunning garden focal points.

Container water features are not only cost-effective but also versatile, allowing you to adapt them to different spaces, whether large or small. Additionally, you can personalize them with decorative stones, aquatic plants, or floating candles to match your garden’s aesthetic.
Repurposed Items as Fountains
For those who love to give old items a new lease on life, upcycled water features offer a fantastic avenue for creativity. Think old teapots, salvaged sinks, or vintage birdbaths. By cleverly repurposing these objects, you can craft unique garden fountains that not only look great but also carry a charming history.
A notable example is the work of upcycling enthusiast Rebecca Finneran, who transforms discarded kitchenware into whimsical water features that captivate and inspire onlookers. These projects often require minimal tools and materials, making them accessible to novice DIY enthusiasts.
Repurposing items into homemade water features is also an environmentally friendly approach, reducing waste and promoting sustainability in your garden design. By exploring these inventive ideas, you can create a tranquil oasis with a personal touch.
Maintaining and Caring for Your Water Feature
Ensuring your water feature remains stunning and functional requires consistent upkeep. Addressing necessary routines can significantly enhance the longevity and beauty of your installation.
Cleaning and Preventing Algae
Effective water feature maintenance is crucial in preserving its appeal. Regularly cleaning your fountain and surrounding areas prevents debris build-up, which can clog pumps and reduce efficiency. Employing algae prevention techniques, such as using algaecide treatments and ensuring proper water circulation, keeps the water clear and free from green discoloration.
Winterizing Your Water Feature
Seasonal care for fountains is essential to protect them during colder months. Winterizing involves draining the water feature, removing and storing the pump, and covering the structure to safeguard it from freeze damage. Following these steps ensures your water feature remains in peak condition year-round, ready to complement your outdoor space as soon as spring arrives.
DIY Water Feature Design Tips for Small Spaces
Creating a tranquil outdoor space doesn’t require a sprawling garden. With the right approach, anyone can incorporate calming water elements even in confined areas. Maximizing the beauty and functionality of small-space design is all about choosing appropriate DIY water features for patios. Here are some innovative and practical suggestions to get you started:

First, consider the size and style of your preferred water feature. Compact water feature ideas like tabletop fountains or wall-mounted cascades are ideal for small patios and balconies. These designs not only fit comfortably within limited spaces but also add a sense of depth and serenity to your environment.
Next, make use of multi-functional items. Planters with integrated water features or stacked stone fountains that double as decorative pieces can serve multiple purposes, thereby saving space while enhancing visual appeal. The key to effective small-space design is blending aesthetics with functionality.
Consider incorporating vertical elements to maximize space. Wall fountains or tiered waterfall features draw the eye upward, creating an illusion of a larger area. Additionally, these designs often require minimal ground space, making them perfect for patios and balconies. Emphasizing vertical space can transform a cluttered corner into a serene escape.
Portable and flexible water features are another excellent solution for compact areas. Containers or bowls that can be easily relocated offer the added benefit of versatility, allowing you to experiment with different placements and arrangements. These portable options are especially beneficial for renters or those who frequently update their outdoor decor.
Finally, be mindful of technology. Modern innovations like pump-less water circulation systems and solar-powered features offer practical solutions for limited spaces. Integrating technology ensures efficiency and easy maintenance, which are crucial aspects of any small-space water design.
For additional inspiration and to see a blend of contemporary landscaping trends, check out more ideas at innovative custom water features for contemporary landscapes.
Conclusion
Embarking on a DIY water feature design is more than just a weekend project; it’s an opportunity to transform your outdoor space into a serene oasis. From selecting the perfect location and gathering the essential materials to meticulously assembling the components, every step of this journey is richly rewarding. By applying the tips and ideas shared, you can create a water feature that seamlessly blends with your landscape, enhancing outdoor living and providing a personal sense of accomplishment.
A well-thought-out DIY water feature not only beautifies your garden but also brings the soothing sounds of nature closer to home. Whether you choose a simple container water feature or repurpose an item for a unique fountain, the creative possibilities are endless. Moreover, maintaining and caring for your water feature ensures its longevity, allowing you to enjoy its tranquility year-round.
Remember, the satisfaction derived from completing a DIY project like this is immeasurable. It’s not just about the end result but also about the experience and learning along the way. As you take pride in your creation, you’ll find that enhancing outdoor living spaces can be both enjoyable and fulfilling. So, gather your tools, let your imagination run wild, and get started on your own DIY water feature. Your backyard oasis awaits.


