Creating a stunning and serene waterfall on a budget is entirely possible. Many homeowners are discovering cost-effective ways to add this tranquil feature to their gardens without draining their wallets. Whether you're planning an affordable waterfall, exploring DIY waterfalls, or looking to incorporate a garden waterfall into your landscape, this guide will help you achieve your goal.
The journey to a budget waterfall often begins with realizing that expensive commercial kits and natural stones aren't the only options. Homeowners have successfully sourced budget-friendly materials, substituted real stones with concrete creations, and utilized natural elements to enhance their pond's beauty. With our tips and techniques, you'll see that transforming your space with an affordable waterfall is within reach.
Choosing the Right Location for Your Waterfall
Finding the perfect spot for your waterfall involves careful consideration and planning. A thorough landscape assessment is essential to ensure you select the best location that complements your garden's aesthetics and functionality.
Assess Your Space
Begin by assessing the available space in your garden. A detailed landscape assessment involves examining the size and topography of your area. Consider how the waterfall will fit within the existing garden design and how it will affect the overall landscape.
Utilize Natural Slopes
One of the most effective ways to enhance your waterfall's design is by utilizing natural garden slopes. Identify areas in your garden with natural elevation changes. Capitalizing on these slopes can simplify construction and create a more natural-looking flow. If your garden is relatively flat, consider building a berm to achieve the necessary elevation.
Importance of GFCI Outlet
Ensure a Ground Fault Circuit Interrupter (GFCI) outlet is available near your chosen location. This is crucial for safety, as it will power the waterfall's pump system. Positioning the GFCI outlet correctly minimizes potential electrical hazards, ensuring your feature operates safely and efficiently.
Materials and Tools You Will Need
Constructing a budget-friendly waterfall requires the right materials and tools to ensure a smooth building process. Whether you are a novice or experienced DIY enthusiast, knowing what you need is crucial. This section will cover the essential building materials, recommended tools, and eco-friendly alternatives to help you in your project.
Essential Building Materials
When it comes to building materials for waterfalls, having the right supplies can make all the difference. Essential items include:
- Pressure-treated wood
- PVC fittings and piping
- Foam insulation
- A submersible water pump
- Screws and fasteners
- Liquid cement color
- Concrete mix and mortar
These materials are fundamental to creating a durable and effective waterfall structure that will last for years.
Recommended Tools
Arming yourself with essential waterfall construction tools is equally important. The following tools will greatly assist in your project:
- Drills and drill bits
- Saws (both hand saws and electric)
- Levels to ensure alignment
- Wheelbarrows for transporting heavy materials
- Shovels for digging and mixing concrete
These tools will facilitate the construction process, making it more efficient and manageable.
Eco-Friendly and Budget Alternatives
For those looking for sustainable DIY waterfall resources, consider eco-friendly and cost-effective options:
- Utilize ‘found' rocks from your property or nearby areas
- Repurpose recycled materials like old bricks or tiles
Not only do these alternatives save you money, but they also contribute to environmental conservation efforts, making your DIY project even more rewarding.
DIY Techniques for Artificial Rocks
Creating artificial rocks DIY is an efficient way to add a touch of nature to your waterfall project. These rocks can be made to mimic natural stones using simple techniques and materials. Let's explore some of the key methods used in the creation of these aesthetically pleasing features.
Making Concrete Rocks
One of the foundational techniques for making artificial rocks DIY involves mixing concrete. Start by combining concrete with water to get the right consistency for molding. To enhance the realistic appearance, you can blend in various aggregates such as gravel or sand. The concrete mix should be carefully poured into a mold to form the desired shape. These artificial rocks can then be strategically placed to blend seamlessly with the natural surroundings of your waterfall.
Using Cement Colors
To achieve a more natural look, using cement dyes is an essential step. These dyes can be mixed directly into the concrete to create a range of colors similar to those found in natural stones. For instance, shades of brown, gray, and green can help make the artificial rocks look more realistic. When dye is applied correctly, it can significantly enhance the visual appeal of your waterfall, ensuring it blends with the surrounding environment effortlessly.
Creating Rock Molds
Molding rocks for waterfalls can be a creative process that yields impressive results. Begin by selecting or designing molds that mimic the texture and contours of natural rocks, such as flagstone or slate. Pour the properly mixed and colored concrete into these molds and allow it to set completely. Once the concrete has hardened, you can remove the molds, revealing beautifully crafted artificial rocks that can be incorporated into your waterfall design.
For further inspiration, visit this link to explore custom water features that highlight the evolution of landscape innovation.
Step-by-Step Cost-effective Waterfall Building
Building a waterfall in your backyard can be both an exciting and cost-effective endeavor. This step-by-step guide will walk you through the process, ensuring you complete the project efficiently and without breaking the bank.
Building the Waterfall Frame
Constructing a waterfall frame is the first crucial step. Using various sizes of pressure-treated lumber, begin by creating a sturdy foundation for the waterfall structure. This is essential for maintaining the integrity of the design and ensuring it lasts for years. Ensure the frame is both level and securely anchored to the ground.

Installing Foam Insulation
Next, proceed with fitting insulation for waterfalls. Foamed insulation is highly recommended as it provides excellent stability and weather resistance. This layer acts as a protective barrier, minimizing damage from moisture and temperature fluctuations while improving structural integrity.
Connecting the Water Supply
Establishing a water source is a significant task. Utilize PVC pipes and fittings to create an efficient and leak-proof connection. This ensures that the water flows smoothly and uninterrupted, enhancing the overall aesthetic and functionality of your waterfall. This step requires meticulous attention to detail to avoid potential water leakage issues in the future.
Applying Concrete and Mortar
The final element involves applying concrete and mortar to solidify the waterfall's structure. These finishing touches with concrete and mortar not only provide strength and durability but also allow for creative touches. Consider embedding homemade artificial rocks, which can be crafted from concrete molds, to add a natural and unique appearance to your waterfall.
For more detailed guidelines on constructing budget-friendly water features, including upkeep strategies, feel free to refer to this comprehensive guide.
Integrating the Waterfall into Your Garden
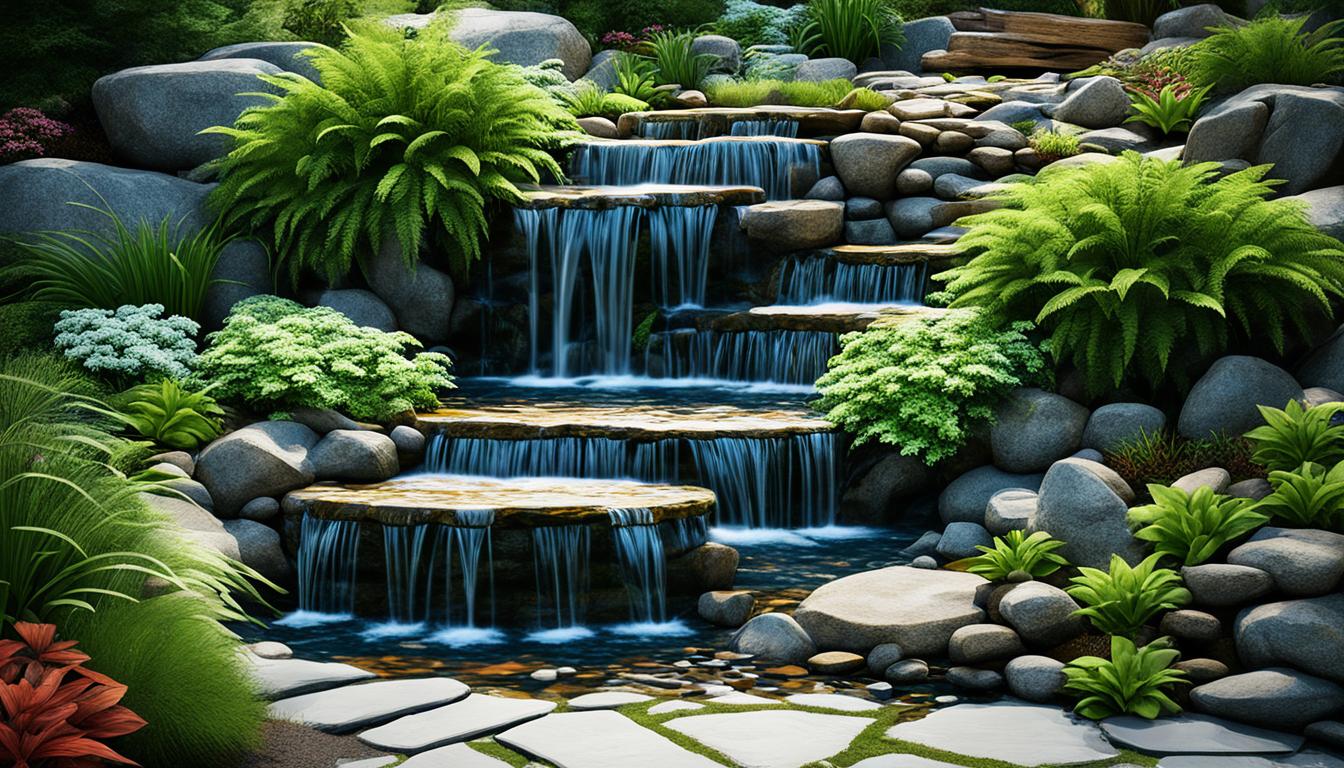
Creating a seamless garden integration for your waterfall involves careful planning and creative touches. Begin by observing the existing landscape to understand how best to complement its natural elements. Key aspects of *landscape cohesion* include the selection of native plants and strategic rock arrangements.
Native flora offers the dual benefits of reducing water requirements and naturally blending with the environment. When considering *waterfall aesthetic enhancement*, think about how the vegetation around the water feature will grow and frame the design. Select plants that thrive in moist conditions for areas closest to the waterfall.
For an authentic appearance, arrange rocks in a manner that mimics natural formations. Use varying sizes and shapes to achieve a look that appears as though it has always been part of the garden. *Landscape cohesion* can also be achieved through the incorporation of small shrubs and ground cover plants in and around the rocks.
Lighting plays an essential role in highlighting your waterfall's features. Consider installing landscape lights to create visual interest and highlight water flow patterns during the evening. Proper lighting not only enhances the *waterfall aesthetic enhancement* but also extends the hours you can enjoy your garden.
Lastly, ensure your design is practical. Paths leading to and around the waterfall can prevent soil erosion and provide easy access for maintenance. By mindfully integrating these features, you will create a harmonious and visually pleasing addition to your outdoor space.
Maintaining Your Budget Waterfall
Proper waterfall maintenance is crucial to ensure the longevity and beauty of your budget-friendly water feature. By following a consistent upkeep routine, you can prevent disruptions and costly repairs while keeping your waterfall in pristine condition.

Regular Cleaning Tips
Regular cleaning water features can prevent unsightly buildup and maintain water quality. Ensure you:
- Remove debris such as leaves and branches.
- Inspect filters and pumps for clogs.
- Check the water chemistry regularly to maintain balance.
Protecting Against Water Loss
Water loss prevention is essential for both efficiency and environmental sustainability. Key practices include:
- Proper installation of pond liners.
- Monitoring for leaks in the water supply system.
- Using water-saving techniques such as recirculation pumps.
Avoiding Costly Repairs
Timely interventions can help avoid cost-efficient waterfall repairs. Observing the following can save both time and money:
- Consistent maintenance checks.
- Addressing minor issues before they escalate.
- Utilizing quality materials during initial construction.
By integrating these practices into your routine, you can ensure that your waterfall remains a stunning and integral part of your garden, providing long-lasting enjoyment and peace of mind.
Conclusion
Building a cost-effective waterfall is not just a rewarding DIY project; it's a pathway to a long-term garden enhancement that transforms your outdoor space. The journey of creating your own fulfilling water feature construction begins with meticulous planning, selecting the right location, and gathering affordable materials. Each step, from shaping the frame to ensuring reliable water supply connections, brings you closer to a mesmerizing water feature that delights the senses.
The successful DIY waterfall project hinges on using cost-effective and eco-friendly materials, allowing you to stay within budget while still achieving stunning results. As seen in sections detailing the crafting of artificial rocks and step-by-step construction, creativity and resourcefulness are key in overcoming budget constraints. Moreover, integrating your waterfall into the surrounding garden creates a seamless, natural look that enhances the aesthetic value of your landscape.
Consistent maintenance is crucial for the longevity of your water feature. Regular cleaning and proper upkeep can prevent costly repairs and ensure that your project remains a source of joy for years to come. This commitment to maintenance underscores the long-term garden enhancement that such a fulfilling water feature construction promises. Ultimately, the process not only culminates in a serene and beautiful environment but also brings a sense of accomplishment and lasting enjoyment to homeowners. By following these guidelines, anyone can create their own tranquil backyard paradise without breaking the bank.


